

I have to admit, it's not exactly leopard print. I showed it to a good friend who wasn't sure exactly what animal would have this design, but who cares, right? It's hot pink and cool blue, and it's perfect for summer!
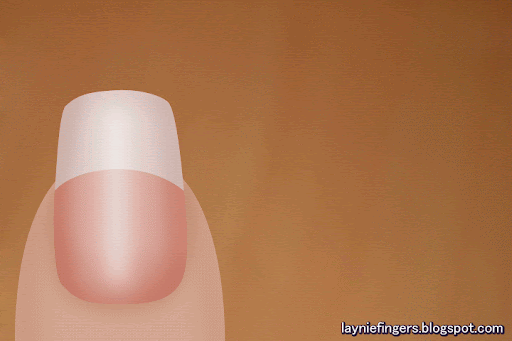
This design starts, like all the others, with a coat of your favorite base coat. This makes sure your art lasts longer than your favorite sitcoms. I've been using Qtica Natural Nail Growth Stimulator, and my nails have been growing like mad! They're seemingly stronger than ever, and they're growing longer than I think I've ever had them! YAY!
After that, you simply paint your nails in whatever color you choose for your background color. I chose a bright hot pink. Two coats should do it, but of course it varies based on which polish you choose. Then comes the fun part!
To add the splotches, I used Sally Hansen's Nail Art Pen in Blue. This way I didn't have to worry about controlling a brush- I just doodled in vague spots from memory. I probably should have looked at a picture of leopard print, but you know what? This is inspired by... I can do it any way I want to! :D
One tip to remember- be sure your background color is completely dry before you try and use the Sally Hansen Nail Art Pens. Otherwise, they just don't work, and that's no fun at all!
Once my splotches were dry, I decided I wanted a bit more color. I dug around in my nail art box til I found my Kiss Nail Artist Paint in Soft Purple. This was just the ticket! I used the thin artist brush to just brush a thin line of color right under the bottom sides of each little blob. I thought of it as if each blob were a 3d shape and I were shining a light from the base of the nail, and everywhere that light would hit I put a touch of purple. Easy- remember, you can't really mess it up. Even if you do, it's just nail polish!
When I finished with the purple, I realized it still wasn't ready. I knew what I needed: GLITTER! I grabbed my superfine glitter in royal blue, tapped out a small bit into a plastic cup, and poured just a bit of clear nail polish on top of it. A bit of mixing, and it was perfect! I dabbed this custom glitter polish over the blue splotches, loving the way the glitter caught the light and made the whole design pop!
After that, it just needed a coat of Seche Vite and it was done! I love the finished result, and I'm seriously tempted to do this on my own nails now! (This was on a false nail, or I'd show you a whole set of them!) Check out the animation below for the how-to!
So, what do you think? Can you see yourself wearing this design? If so, let me know in the comments! I'd love to see what you come up with!
Til next time!

Some products may have been provided by the manufacturer for consideration.
See my disclosure statement for more information.
I love it!!
ReplyDeleteReally cool!
This is really cute ! Nice colors .
ReplyDeleteI love it. So much.
ReplyDelete